Printing Roller Alignment using Jig Transits
 To minimize waste product and maintenance costs, roll systems must be levelled and aligned accurately. This alignment involves positioning each individual roll in the horizontal and vertical directions, in relation to each other and generally with reference to some given datum.
Checking Rolls for Level
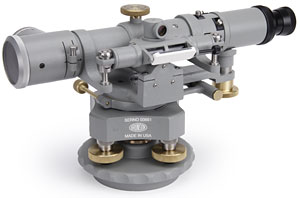
A precision sight level (left) should be positioned to obtain a clear view of an optical tooling scale, which will be placed directly on the top of the roll in a vertical position.
The precision sight level will allow a level plane to be established by rotating the telescope to any position within a 360 degree circle and then bringing the telescope to level using the coincidence vial. Then, readings may be taken from optical tooling scales at various locations relative to this level plane.
 It is the relative difference between the measurements taken at the near and far ends of the roll that is of interest. The Talyvel electronic level can also be used to check roll level and sag.
Checking rolls for parallelism
It is important that each roll is square to the centreline.
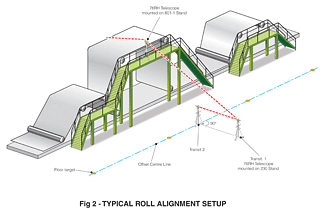
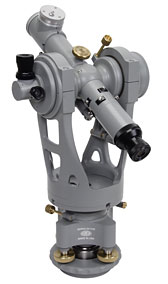
Precisely set the first jig transit over the centreline; this gives an optical reference line, which is precisely parallel to the machine centreline. The telescope part of the jig transit should now be brought into the level position using the coincidence vial, and focusing at infinity in order to act as a reference collimator.
 Position the second jig transit roughly over the offset centreline. Collimate the cross-axis telescope of this second jig transit to the main telescope of the first jig transit. Collimation is a simple, visual process by which infinity-focused telescopes are set precisely parallel to each other. Basically, the cross-axis telescope of the second jig transit looks “down the barrel” of the main telescope of the first jig transit. At this point, the main telescope of the second jig transit can sweep a vertical plane, which is precisely perpendicular to the offset centreline (and which is parallel to the rolls).
When all possible rolls have been measured from this instrument position, move the instrument to the next appropriate location, and repeat the measurement process after the jig transit is again collimated to the reference instrument.
