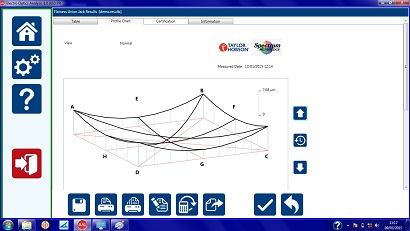
Union Jack flatness measurement
Flatness calibration checks on granite tables and cast iron surface plates
The Talyvel electronic level is widely used for checking flatness, straightness and level on surface plates and granite tables.

Grid flatness measurement
The Talyvel and its software reduces the calibration time for a typical 1600x1000mm (63x39in) surface table to less than 20 minutes, including calculation of the result and printout, compared with a time of over two hours taken by a skilled operator using unaided methods.
Each stage of the measurement is prompted by the software, which also indicates where any error in operation has occurred, enabling even less experienced personnel to carry out surface table checks without difficulty.
The software allows the results to be presented in a variety of graphical and tabular forms and printed in the form of a certificate with a record of any additional measurement/environmental data.
See the Talyvel electronic level being used for flatness measurements on surface tables:
Measurement procedure for flatness calibration on granite and cast iron surface tables:
The operator inputs the length and width of the surface table to be checked (the computer calculates the length of diagonal). The number of measuring steps to be taken over each generator is then selected. The computer calculates and displays step intervals in mm or inches over the length, width and diagonal of the table.
A guide line for the Talyvel unit can now be marked out with these step intervals on the surface table along each generator, or alternatively a similarly marked straight edge can be used. The adjustable base for Talyvel is then set to the appropriate step interval length.
To measure the table, the Talyvel level unit is stepped along each generator line at the predetermined points and each measurement taken by the software at the click of a button. The computer will prompt the operator to change the step length, as necessary, before each generator is entered.
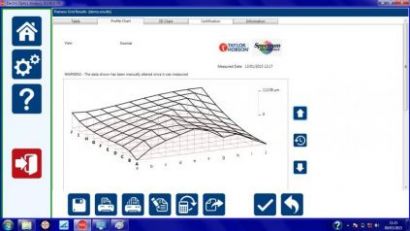
When all the generators are complete the departure from flatness is calculated. The individual values are printed out initially as arc seconds and then converted to the deviation from straightness in units of 0.001 mm or 0.0001 in. In addition, the printout gives the maximum deviation from flatness over the entire surface, and the closure errors over generators HF and EG. The measurement results are also graphed as an isometric diagram or a certificate and a measurement report can be generated and saved.
The grid method of flatness checking is similar in operation to the Union Jack above but with a grid pattern, by using a larger number of generators a more detailed analysis of a surface is given. Flatness measurements may be made using a minimum of only the four outside generators.
