Polygon Indexing Head Checking using Autocollimators

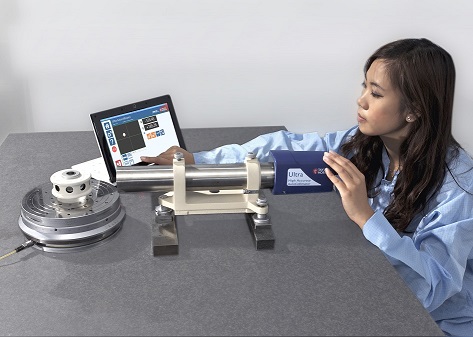
Ultra Autocollimator used for polygon/indexing head checks
Modern machining systems use rotary tables for tilting and indexing the part. The rotary table’s positioning accuracy is an integral part of system accuracy.
An autocollimator is an optical device designed to provide high resolution, high-accuracy measurement of angles. The instruments resolution is frequently 0.1 seconds or better and measurement accuracy of 0.5 seconds or better is routinely achieved. Easy-to-operate devices, autocollimators are used with angle masters to measure deviation from nominal angle.

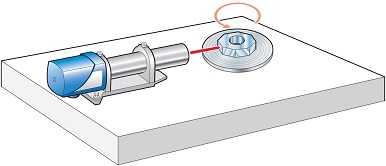
Diagram: checking indexing heads and polygons
When used to measure angular errors of rotary tables an autocollimator measures the deviation from nominal angle determined by the angular master. The angular master is usually a precision polygon mirror or an index table.
Although polygons are available with as many as 72 faces, those used for rotary tables typically have 8 or 12 faces. The polygons are regular; that is the angle between the faces is equal. Since polygons are not perfectly regular a list of deviations is supplied in the form of a calibration chart. Typical calibration accuracy of these masters is 0.2 second.

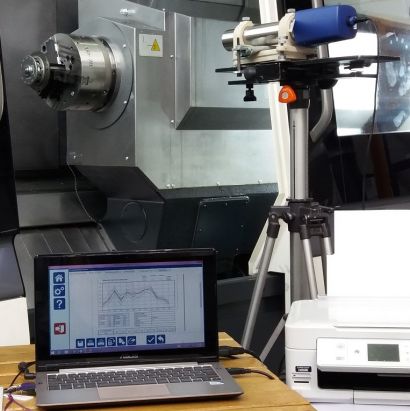
Autocollimator checking indexing on horizontal spindles
To ensure proper alignment, the polygon is mounted on the rotary table using an inside diameter as a reference. The inside diameter centreline is parallel to the faces and square to the base. After alignment, one of the mirror faces on the polygon is rotated toward the autocollimator and zeroed; then the rotary table readout is zeroed.
During inspection the table is rotated until its readout is the nominal angle of the polygon (45 degree increments for an eight-sided polygon). The next face should be aligned to the autocollimator. If it isn't, the error can be read on the auto-collimator. The table should be rotated to each face of the polygon until all positions are inspected. At zero degrees, the table should return to zero deviation.

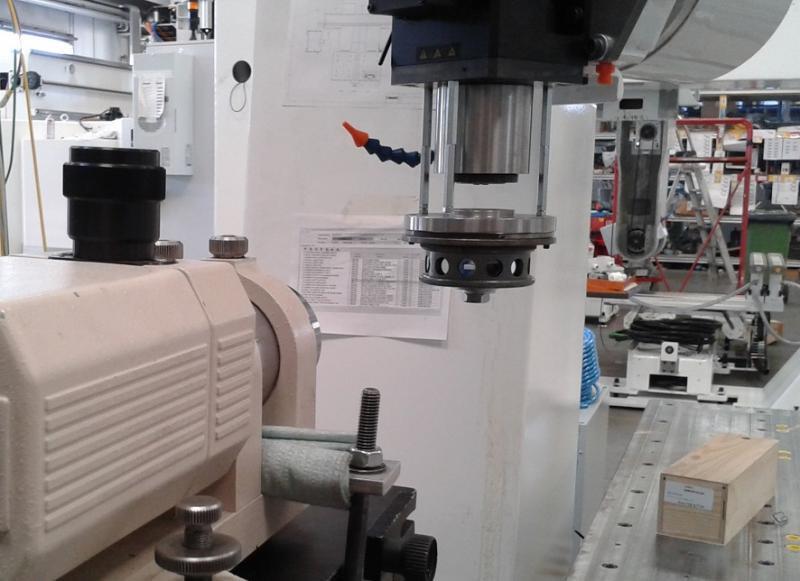
Autocollimator checking indexing on vertical spindles
An alternative to the polygon is the ultra precision index table. The typical angular accuracy of an index table is 0.25 second. A 360 position index table yields one degree resolution. Index tables are available in any number of positions per revolution.
To use an index table, a plane mirror is placed on the centre of rotation and parallel to the axis of rotation. The index table is aligned in the same manner as a polygon. During inspection the rotary table is rotated to 23 degrees, for example, and the index table is counter-rotated 23 degrees. If the mirror isn't aligned, again, the error can be read on the autocollimator.
