Surtronic S100 Series Surface Finish Tester – Robust and portable

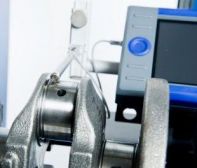
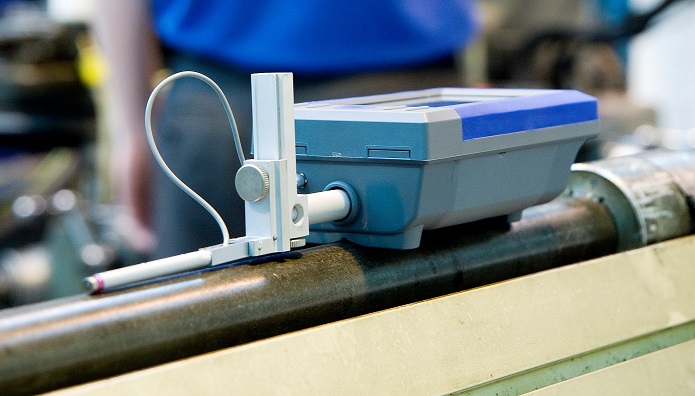
Surtronic S100 roughness checker with 50mm stylus lift and right angle attachment
The Surtronic S100 portable Surface Finish Meter offers a versatile solution for your roughness measurement requirements. Features include a large ruggedized display, long-life batteries and simple menu structure. The Surtronic can be used either freestanding (on horizontal, vertical or even inverted surfaces) or bench mounted with fixturing for batch surface roughness measurement and laboratory applications.
The 50mm stylus lift with right angle attachment and over 70mm stylus reach ensure that even the most challenging surface can be measured without the need for expensive fixturing. Anti-slip V-feet allow the Surtronic to be used on flat or curved surfaces.
The Surtronic S100 is extremely durable, featuring impact resistant rubberised mouldings surrounding a recessed, high durability touchscreen.

Anti-slip V-feet allow the Surtronic roughness checker to be used on flat or curved surfaces
Talyprofile software options offer advanced surface finish analysis*, automated templates, outstanding graphics and easy-to-use desktop publishing.
- Multiple Surface Roughness Parameter options to suit your application
- Ruggedised display: up to 7 parameters per page plus graph
- Fast measurement cycle
- Unique stylus lift mechanism for total flexibility
- Long traverse length and extended pick-up reach
- Built-in storage - up to 100 sets of surface roughness measurement results plus USB ports for full connectivity
- Durable rechargeable batteries – up to 2000 measurements from a single charge
(The Surtronic S100 series replaces the older Taylor Hobson models Surtronic 25, Surtronic 3+ & Surtronic 3P).
See the Surtronic S100 roughness checker in action:
Technical Data
| S128 model | S116 model | |
| Gauge range: | 400µm | 200µm |
| Resolution: | 50nm | 100nm |
| Noise Floor (Ra): | 150nm | 250nm |
| Repeatability (Ra): | 0.5% of value + noise |
1% of value + noise |
| Traverse Length: | 0.25-25mm (0.01-0.98in) | 0.25-12.5mm (0.01-0.49in) |
Surface Finish Parameters to suit your application:
The Surtronic S100 can calculate a wide range of surface finish parameters according to your measurement application, including:
Amplitude Parameters (measures the vertical characteristics of the surface deviations):
Ra (Arithmetic Mean Deviation, previously known as CLA or AA)
Rsk (Skewness)
Rz (Average peak to valley height)
Rv (Maximum depth of profile below the mean line within the sampling length)
Rt (Total height of profile)
Rp (Max profile peak height)
Rz1max (also known as Ry or Rmaz) (Max Peak to valley)
Spacing Parameters (measures the horizontal characteristics of the surface deviations):
RPc (peak count)
RSm (Mean width of profile elements)
Hybrid Parameters (combinations of spacing and amplitude parameters):
Rmr (Material ratio)
Rdq - R Delta q (the rms slope of the profile within the sampling length)
The above parameters cover the most common requirements to check lubrication, feed rates, stresses, friction and wear properties. Click here for further information on surface finish
- Request a copy of the Surtronic S100 brochure for a full list of parameters included
- Further information about typical surface finish applications using the Surtronic range
- Talyprofile surface finish software
We would be pleased to demonstrate the capabilities of the Surtronic by measuring a sample component for you – please e-mail us with details of your application.
